Increasing the size of a ubuntu VM in ESXi
I’ve been putting this off forever because I’ve been lazy but got some time today so I finally got around to it. As it turns out, it’s not as awkward as I thought it was going to be!
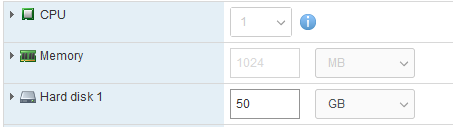
So first things first, you want to increase the disk space allocated by ESXi, select your VM, click edit and set it to whatever you need.
Reboot the VM and type cfdisk.
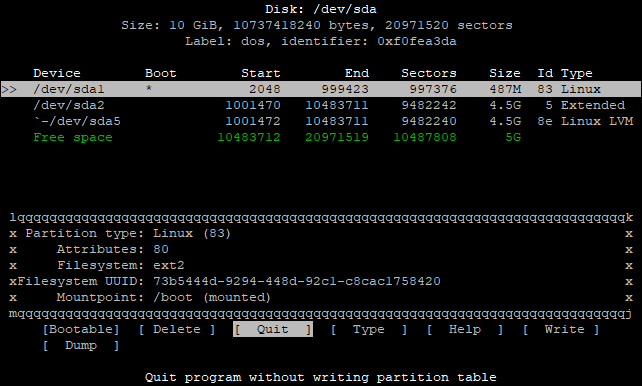
Select the Free Space, hit enter and hit enter again on the partition size.
Next, navigate to write, hit enter, type yes.
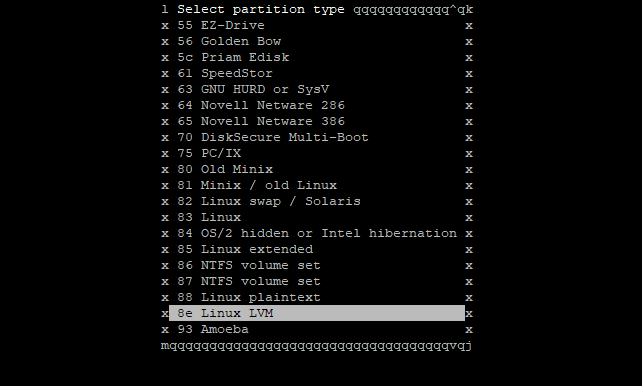
Next we need to change type, select type linux-lvm
And write the changes again. Then quit and reboot the VM.
After restarting, create the new volume pvcreate /dev/sda3
Physical volume "/dev/sda3" successfully created
Type vgdisplay to get the volume we’ll be extending.
vgdisplay
  --- Volume group ---
  VG Name               database-vg
And to extend, vgextend database-vg /dev/sda3
Volume group "database-vg" successfully extended
Extend root, lvextend -l+100%FREE /dev/database-vg/root
Size of logical volume database-vg/root changed from 3.52 GiB (901 extents) to 8.52 GiB (2181 extents).
  Logical volume root successfully resized.
df -h to get the filesystem
/dev/mapper/database--vg-root 3.5G 2.4G 856M 74% /
And extend this too, resize2fs /dev/mapper/database--vg-root
Lastly, df -h again to see your extended vm.